Illustrative material and project images. Confirm the selected product, finish and supplied components in your order or quote.
More project planning notes
Acrylic display assembly
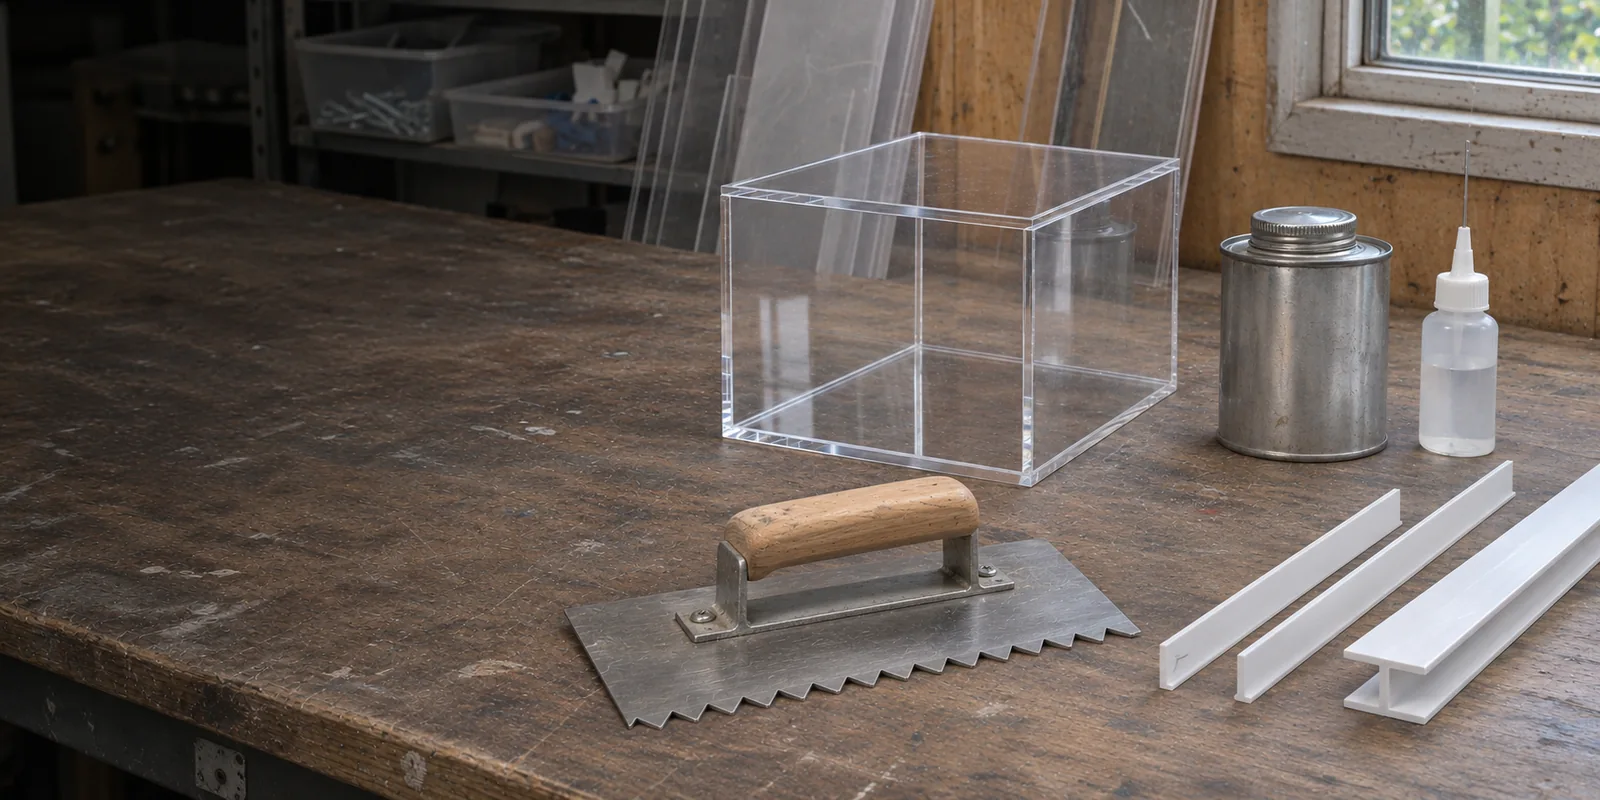
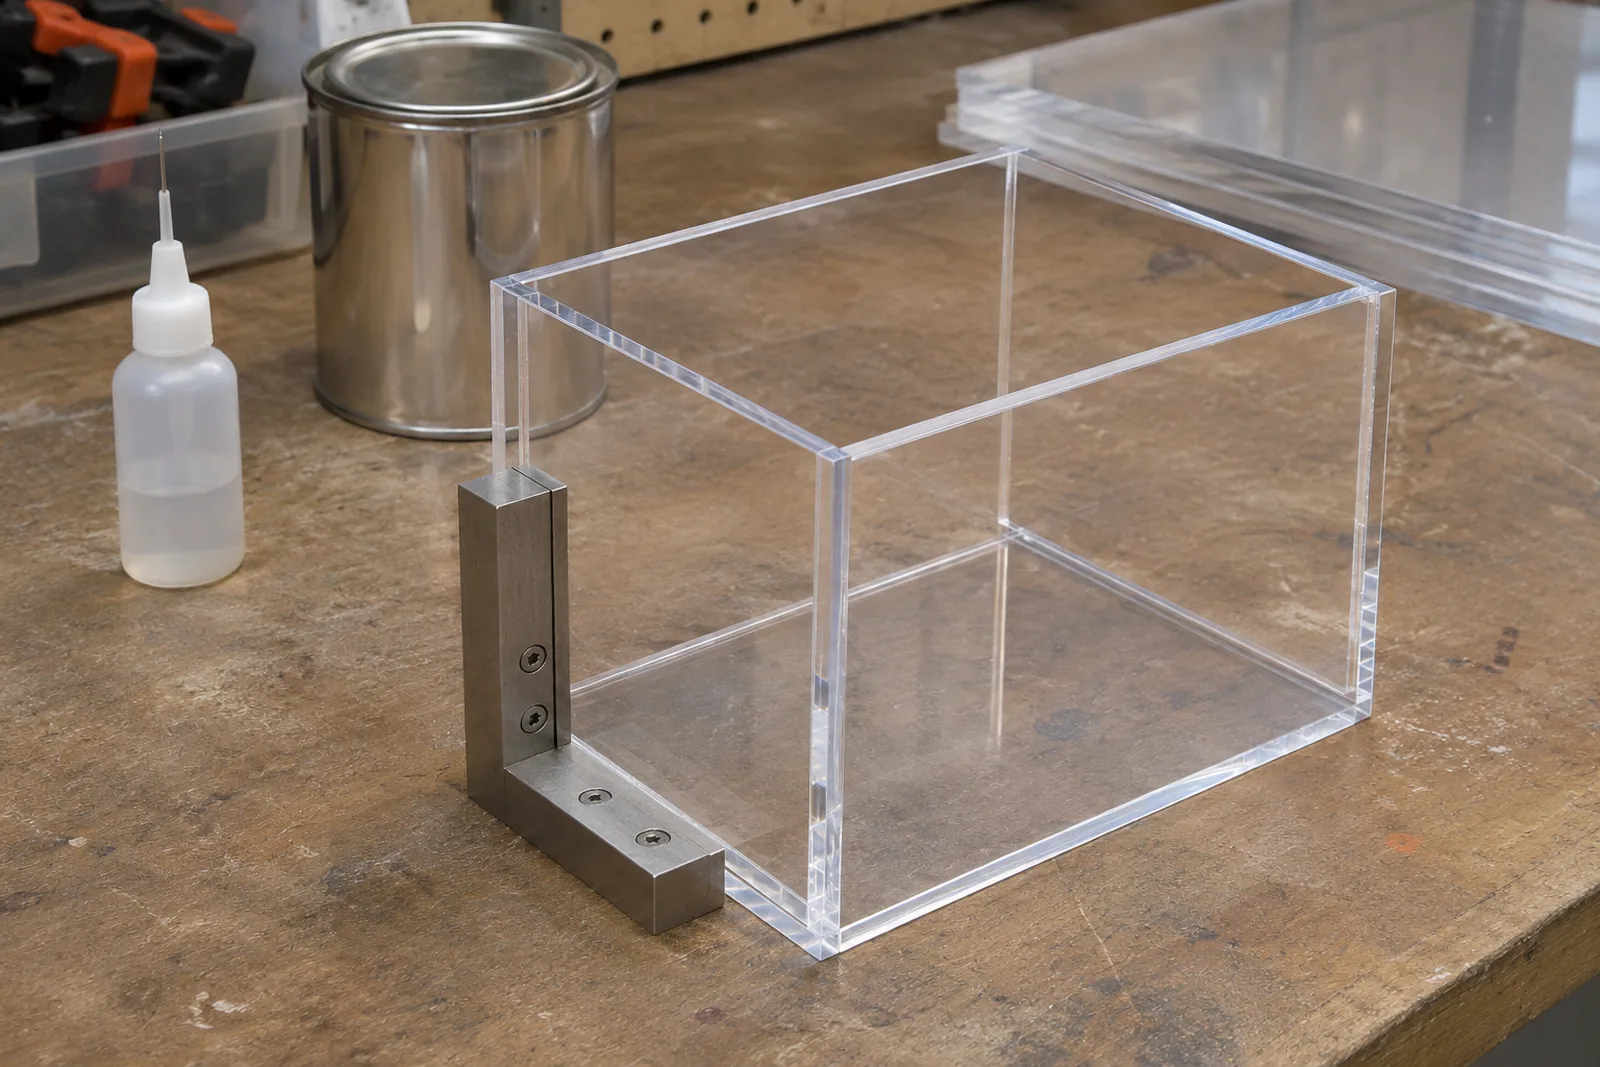
For a small display case or acrylic sign component, identify the acrylic grade and joint arrangement first. The cement listing supports acrylic-to-acrylic fabrication; it does not establish compatibility with every clear plastic or coated surface. S1 · S2
Panel seams and corners
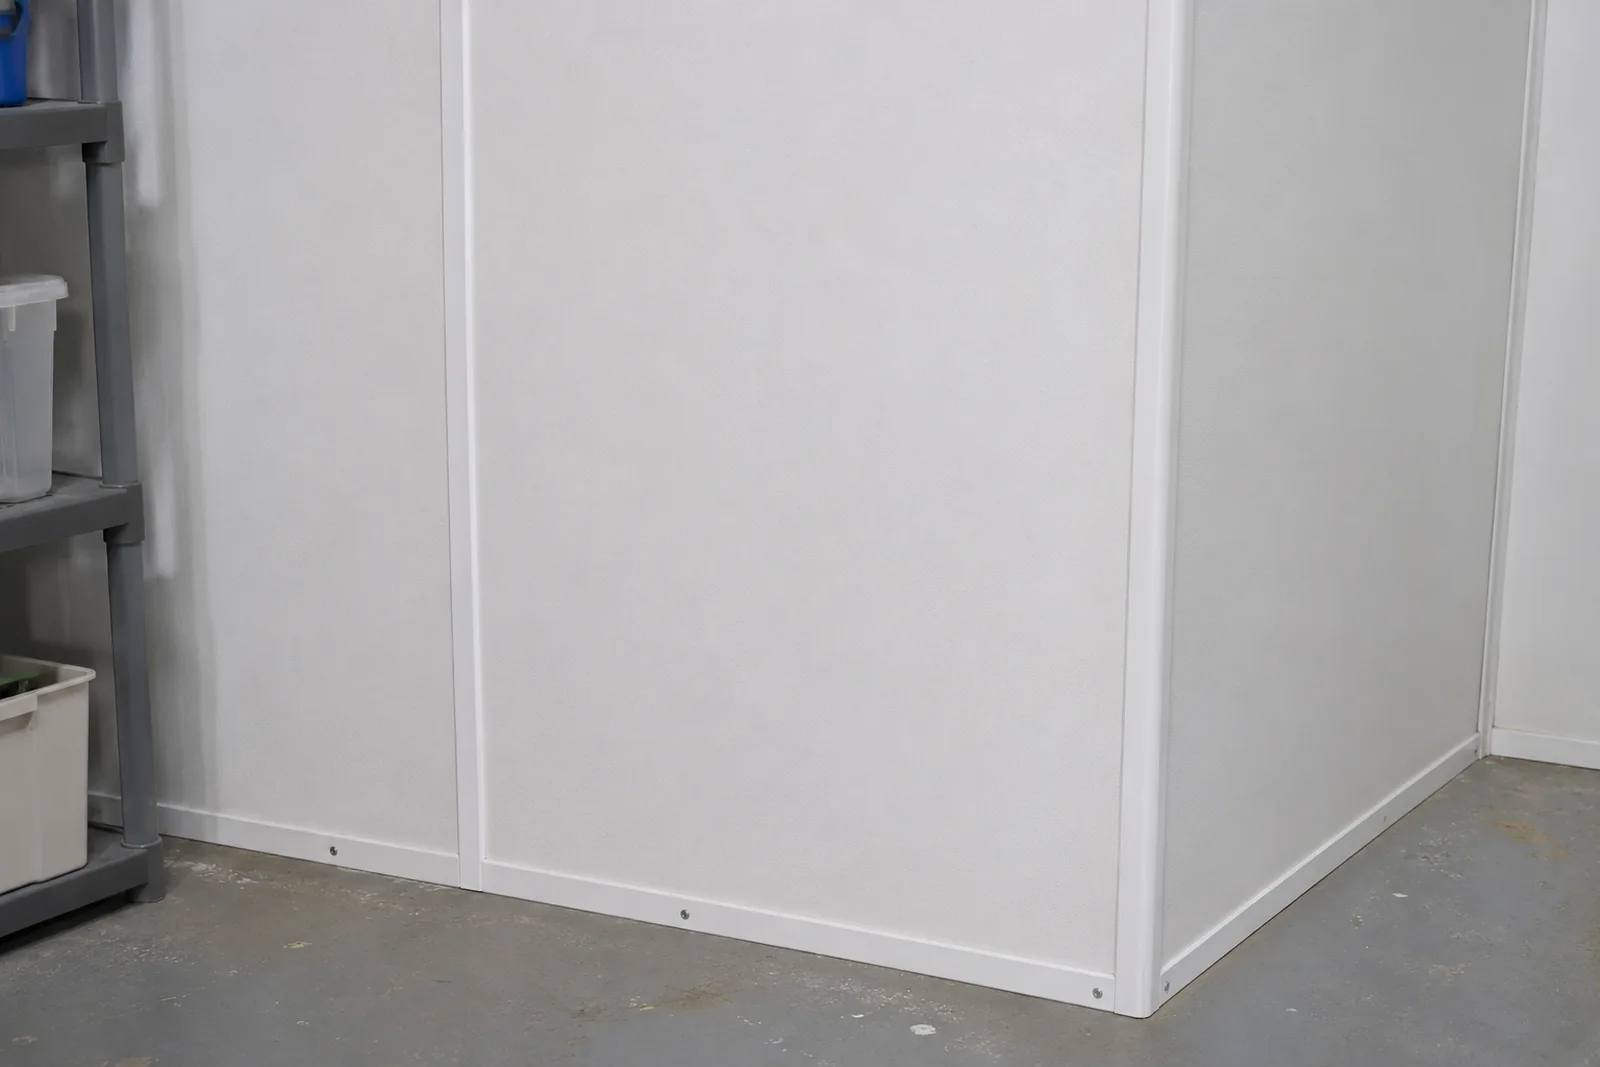
Mark straight seams, inside corners and outside corners on a simple wall sketch. Count each profile separately. This turns the layout into a useful trim enquiry without assuming that all three profiles fit every panel thickness. S1
Adhesive spreading
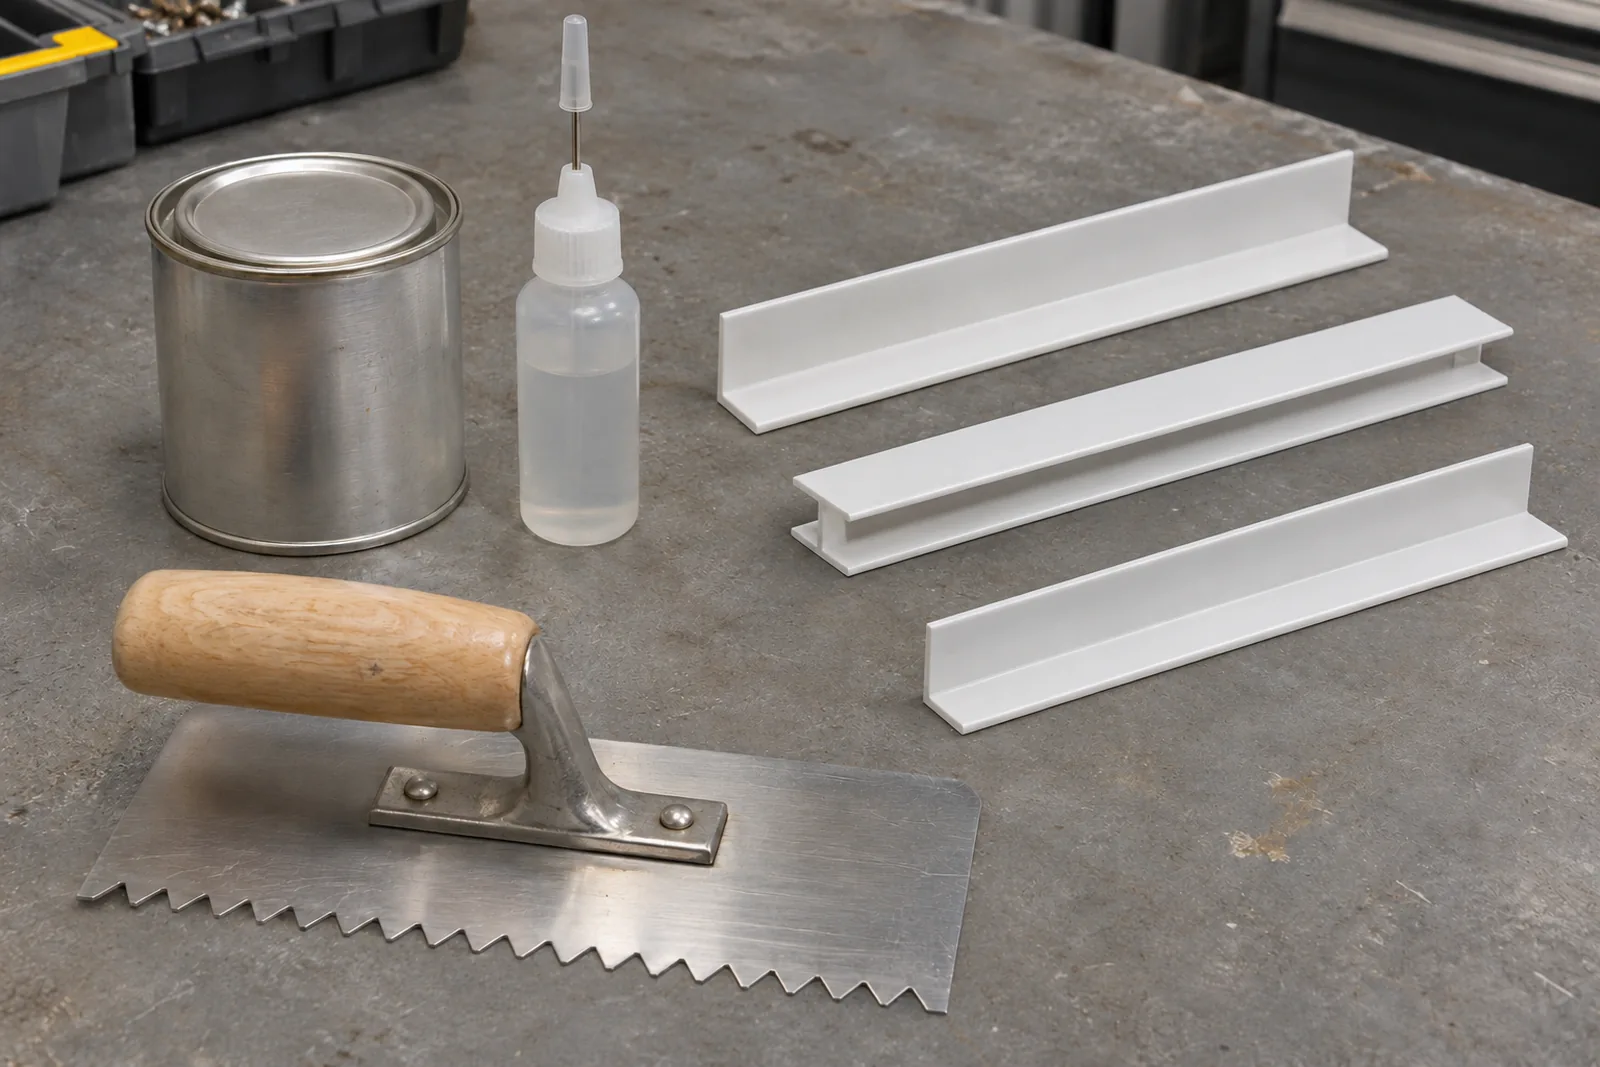
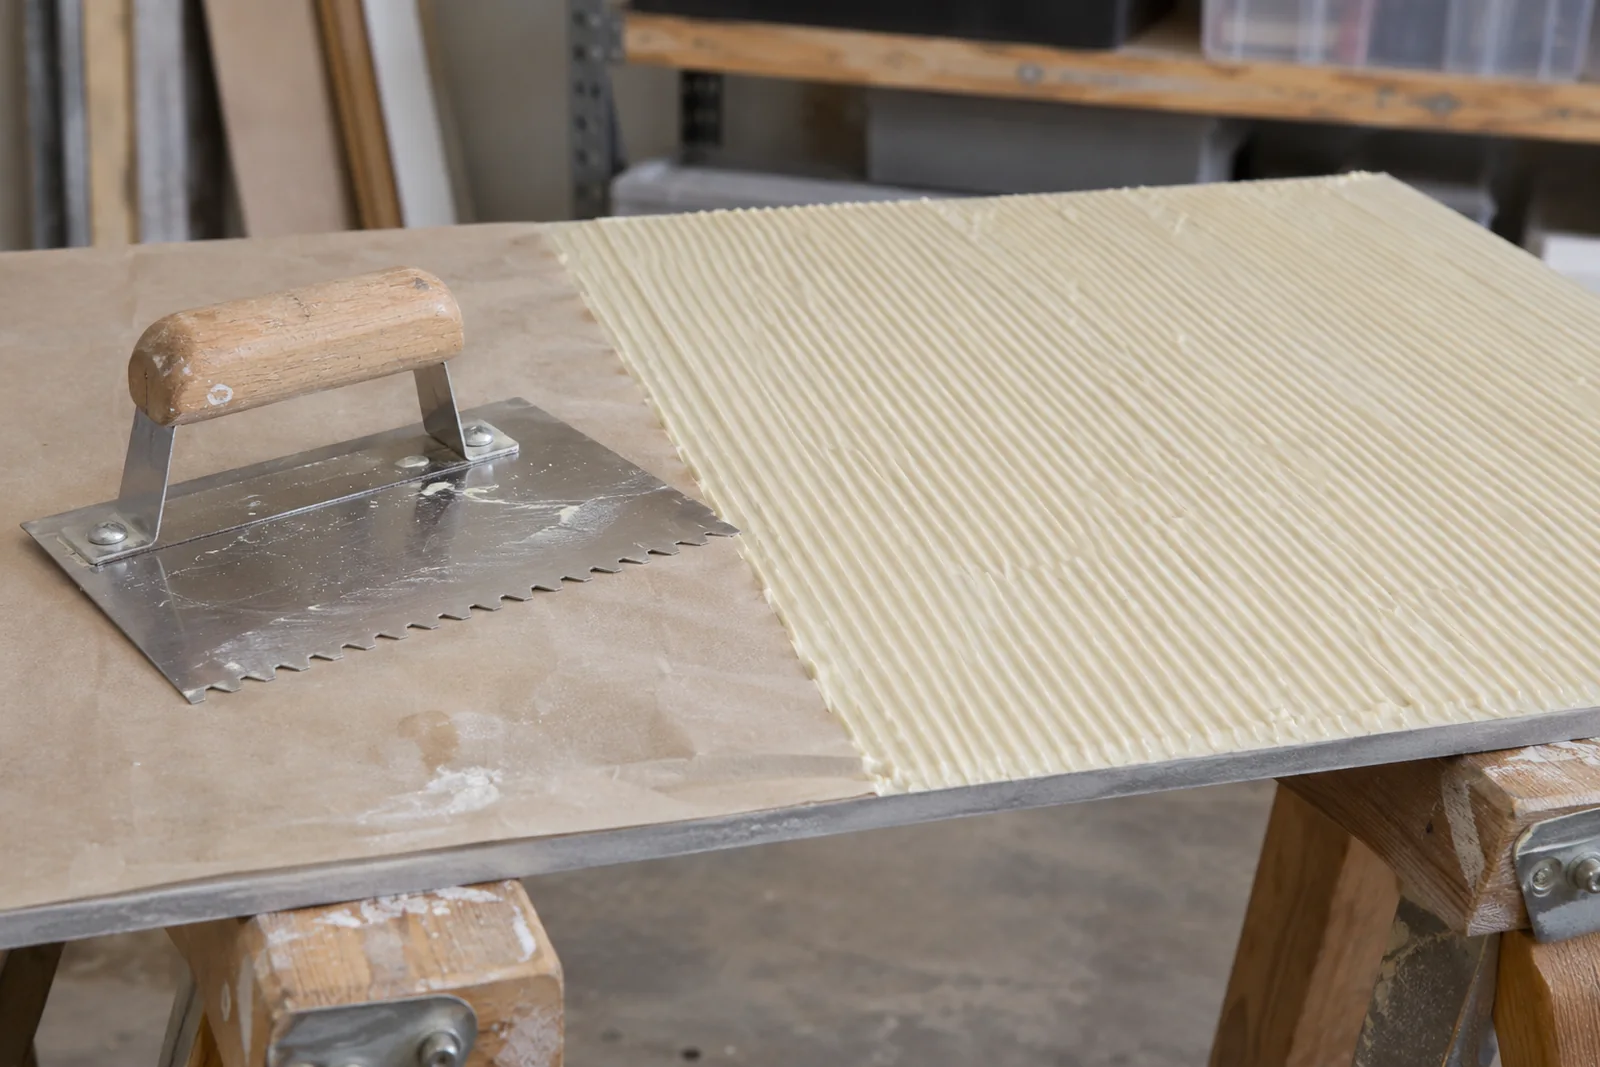
For a panel or tile installation, check the adhesive instructions before choosing the tool. The listed trowel specifies a notch size; it does not establish adhesive coverage, approved substrates or a complete installation system. S1
Before you order
Match the material to the project.
Confirm compatibility and follow the supplied adhesive or cement instructions. A matching tool size alone does not establish the correct installation method.
Prepare the details
Plan the size. Check the application.
Identify the material
Give Supply Kings the panel or acrylic product name, thickness and surface finish. Include any coating or backing that could affect the joint or trim fit. S1 · S2
Choose the profile
Use the corner direction to select trim. Send a sketch or photograph if the junction is unclear, and confirm the profile opening before ordering. S1
Check the listed options
Cement has two pack sizes. Each trim profile and the trowel has one listed option. The catalogue below preserves the exact order labels; no additional sizes or colours are implied. S1
Plan the quantity
Measure trim runs and note each joint. For cement or panel adhesive, ask for product-specific quantity guidance: a can size or trowel notch alone does not give project coverage. S1 · S2
Handling & care
Check the supplied formula
Read the supplied can label and its matching technical and safety sheets before opening or using it. Confirm the required preparation, equipment, ventilation, storage and curing instructions for that formulation. S2 · S3
Check trim before installation
Confirm fit, length and attachment instructions with the selected panel system before cutting or fixing trim. The current listings do not provide fastening spacing, movement allowances or sealing details. S1
Follow the adhesive system
Use the trowel only with a specified compatible adhesive and substrate. Obtain that adhesive’s spreading, working-time and cleanup instructions; no universal cleaning solvent or coverage rate is provided here. S1
Other details to confirm
Which Weld-On #4 formulation?
Current and 2020 manufacturer documents describe different formulas. Match curing and safety instructions to your supplied can. S1 · S2 · S3
Trim dimensions and finish
Confirm profile opening, length, grade and colours. The generated scene is illustrative. S1
Trowel specification limits
Confirm blade dimensions and adhesive-specific coverage; only notch size is listed. S1